Brass push-fit fittings save you a lot of time. They are easy to install, require very few tools, there is no flame or solvents and they are suitable for making wet connections and repairs. Yes, you read that correctly, brass push-fit fittings can be installed in wet or dry conditions.
In this blog, we will walk you through the steps of how to properly connect and disconnect a brass push-fit fitting (and include a list of the materials you will need). Let's get started.
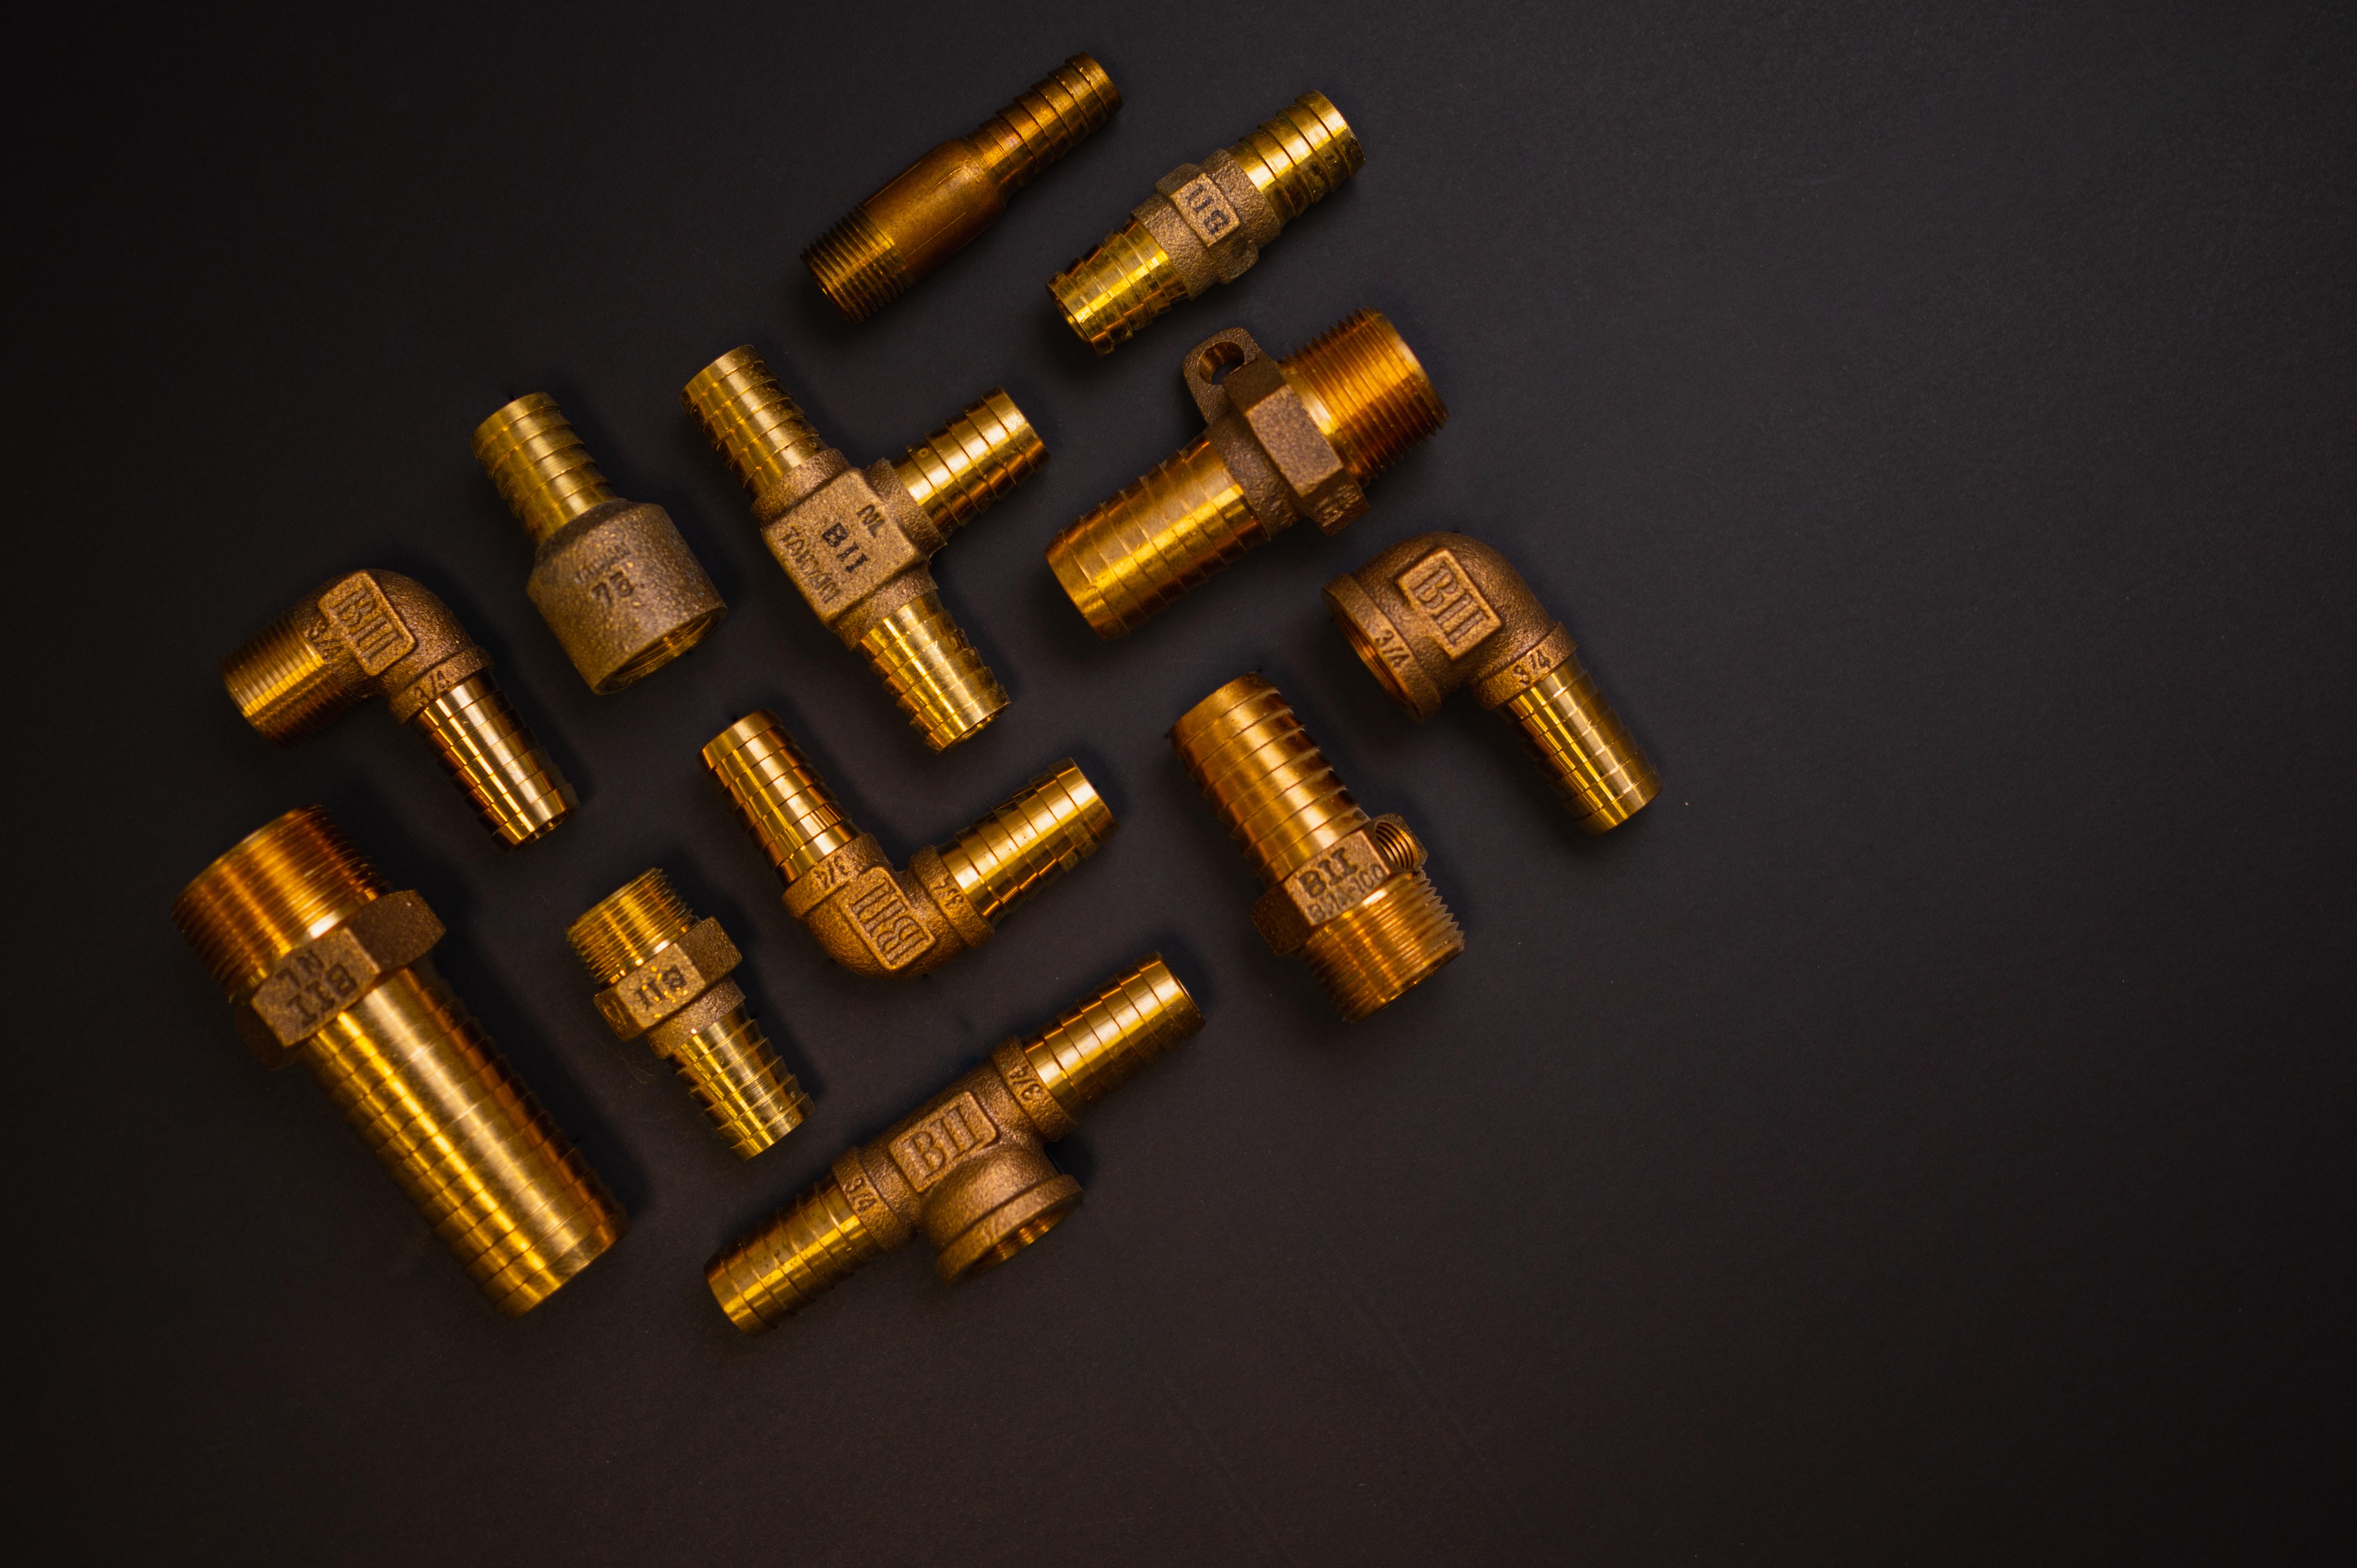
Brass Push-Fit Fittings 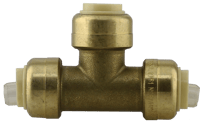
Brass push-fit fittings create a secure connection. When the tube or pipe is inserted into the fitting, it passes through a release collar and a stainless steel gripper ring. Gripper rings have internal teeth that flex outward, gripping onto the outer diameter (O.D) of the tube. The tube is inserted further into an O-ring protector that aligns the tube. Ethylene Propylene Diene Monomer (EPDM) O-ring creates a pressure seal as it is compressed between the fitting wall and the tube that passes by the O-ring to the tube stop.
Note: In order to make a proper connection, the tube must pass through the O-ring, against the tube stop.
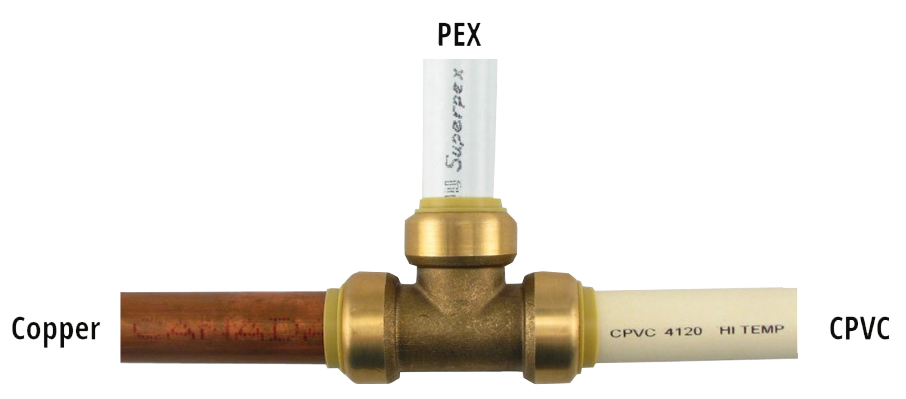
The push-fit fittings come complete with an insert, also known as the stiffener, that is inserted into PEX piping to add support while keeping the pipe O.D round ensuring the O-ring makes a positive seal on the outside of PEX pipe. The stiffener insert is not required when installing Copper or CPVC piping and they can be easily removed.
Making a Push-Fit Fitting Connection
To make a proper push-fit connection, you will need:
- Measuring Tape
- Marker
- Pipe Cutter for PEX & PVC
- Pipe Cutter for Copper
Step 1
First step is to select the correct size fitting and pipe for your installation. It is very important to ensure that both the fitting and the pipe are clean and in good condition, no signs of damage or foreign objects.
Step 2
Next, you need to grab the proper pipe cutting tools, the use of a hacksaw is not recommended as it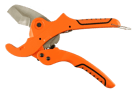 will create burrs. Be sure that you cut the tube so the ends are square. The cut ends should be inspected to ensure that there is no burrs or damage.
Step 3
Using the marker, mark the outside of the pipe with the correct insert depth of 1" from the end of 1/2" & 3/4" pipe and 1-1/4" on 1" piping. The mark is used as a visual guide to make sure the pipe is inserted all the way to the stop. A secure connection will not happen if the pipe is not inserted against the stop.
Step 4
Next, you need to insert the pipe through the release collar, gripper ring and O-ring. Make sure to push the pipe firmly until the pipe is snug against the internal pipe stop.
Step 5
You will be able to tell if the pipe is correctly inserted by checking that the mark you made in step 3, is flush with the edge of the release collar. Once it has been confirmed that the pipe has been inserted correctly, you can feel confident that you have properly connected the push-fit fitting.
Disconnecting a Push-Fit Connection
To disconnect a push-fit fitting, you will need a disconnect tool to apply pressure to the release collar. The disconnect tool spreads the gripper ring teeth, allowing the grip to release on the pipe, enabling you to remove the pipe from the fitting.
Step 1
First, snap the disconnect tool around the pipe with the recessed face against the release collar.
Step 2
Next, you want to apply pressure onto the disconnect tool, carefully pushing the clip against the release collar. Then, gently pull the pipe out of the fitting, slightly twisting.
Step 3
Be sure to check the fitting and tube end for any damage. You need to ensure that the fitting and pipe are completely free of any damage. If you find damage, you will need to cut off the damaged section or use a new section of piping for re-assembly.
In Conclusion:
Brass push-fit fittings are really a time saver and with these steps, the installation process should be quick and painless. Being prepared with all the essentials will also help save you some time and stress.
If you have any questions about the process, don't hesitate to contact us and we will be happy to help.
Have further questions about this subject?

Head over to Boshart's Knowledge Base: technical product information, guidelines, and more.
SHARE