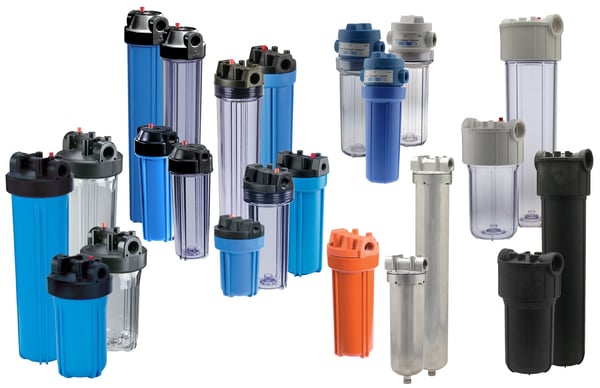
Once you have identified the water quality issue and determined the type of filter cartridges required to solve the problem, which includes verifying the desire flow rate and selecting the filter cartridge size; you are ready to install the filter housing that holds the filter cartridge. But don’t forget to also pick the filter housing features that will be best for your application.
This blog will provide important tips you should know before starting, a list of tools you will need, and a step-by-step of how to install or replace a Point of Use / Point of Entry Whole House Water Filter Housing.

Important Tips
HANDLE WITH CARE: Avoid scratching, bumping and dropping.
SUNLIGHT: Where there is UV exposure, always use blue bowls, not clear bowls.
FREEZING: Protect against freezing.
EXPOSURE: Do not expose to household chemicals and solvents such as aerosol sprays, cleaning products and insecticides.
NEVER EXCEED MAX PRESSURE RATING: If pressure surges are a possibility, regulate with a pressure reducing valve.
FILTER BOWL REPLACEMENT: Replace every five years for clear bowls, and every ten years for blue bowls. If your bowl has been in use for more than the recommended period, it should be replaced immediately. Be sure to date bowl for reference.
INSTALLATIONS OTHER THAN POTABLE WATER: We strongly advise you to conduct your own tests to determine the safety and suitability of these products for your specific application.
CAUTION: All filtration systems contain parts that have a limited service life and cannot be easily monitored. Therefore, filter housings should be installed in an area where leakage will not cause property damage.
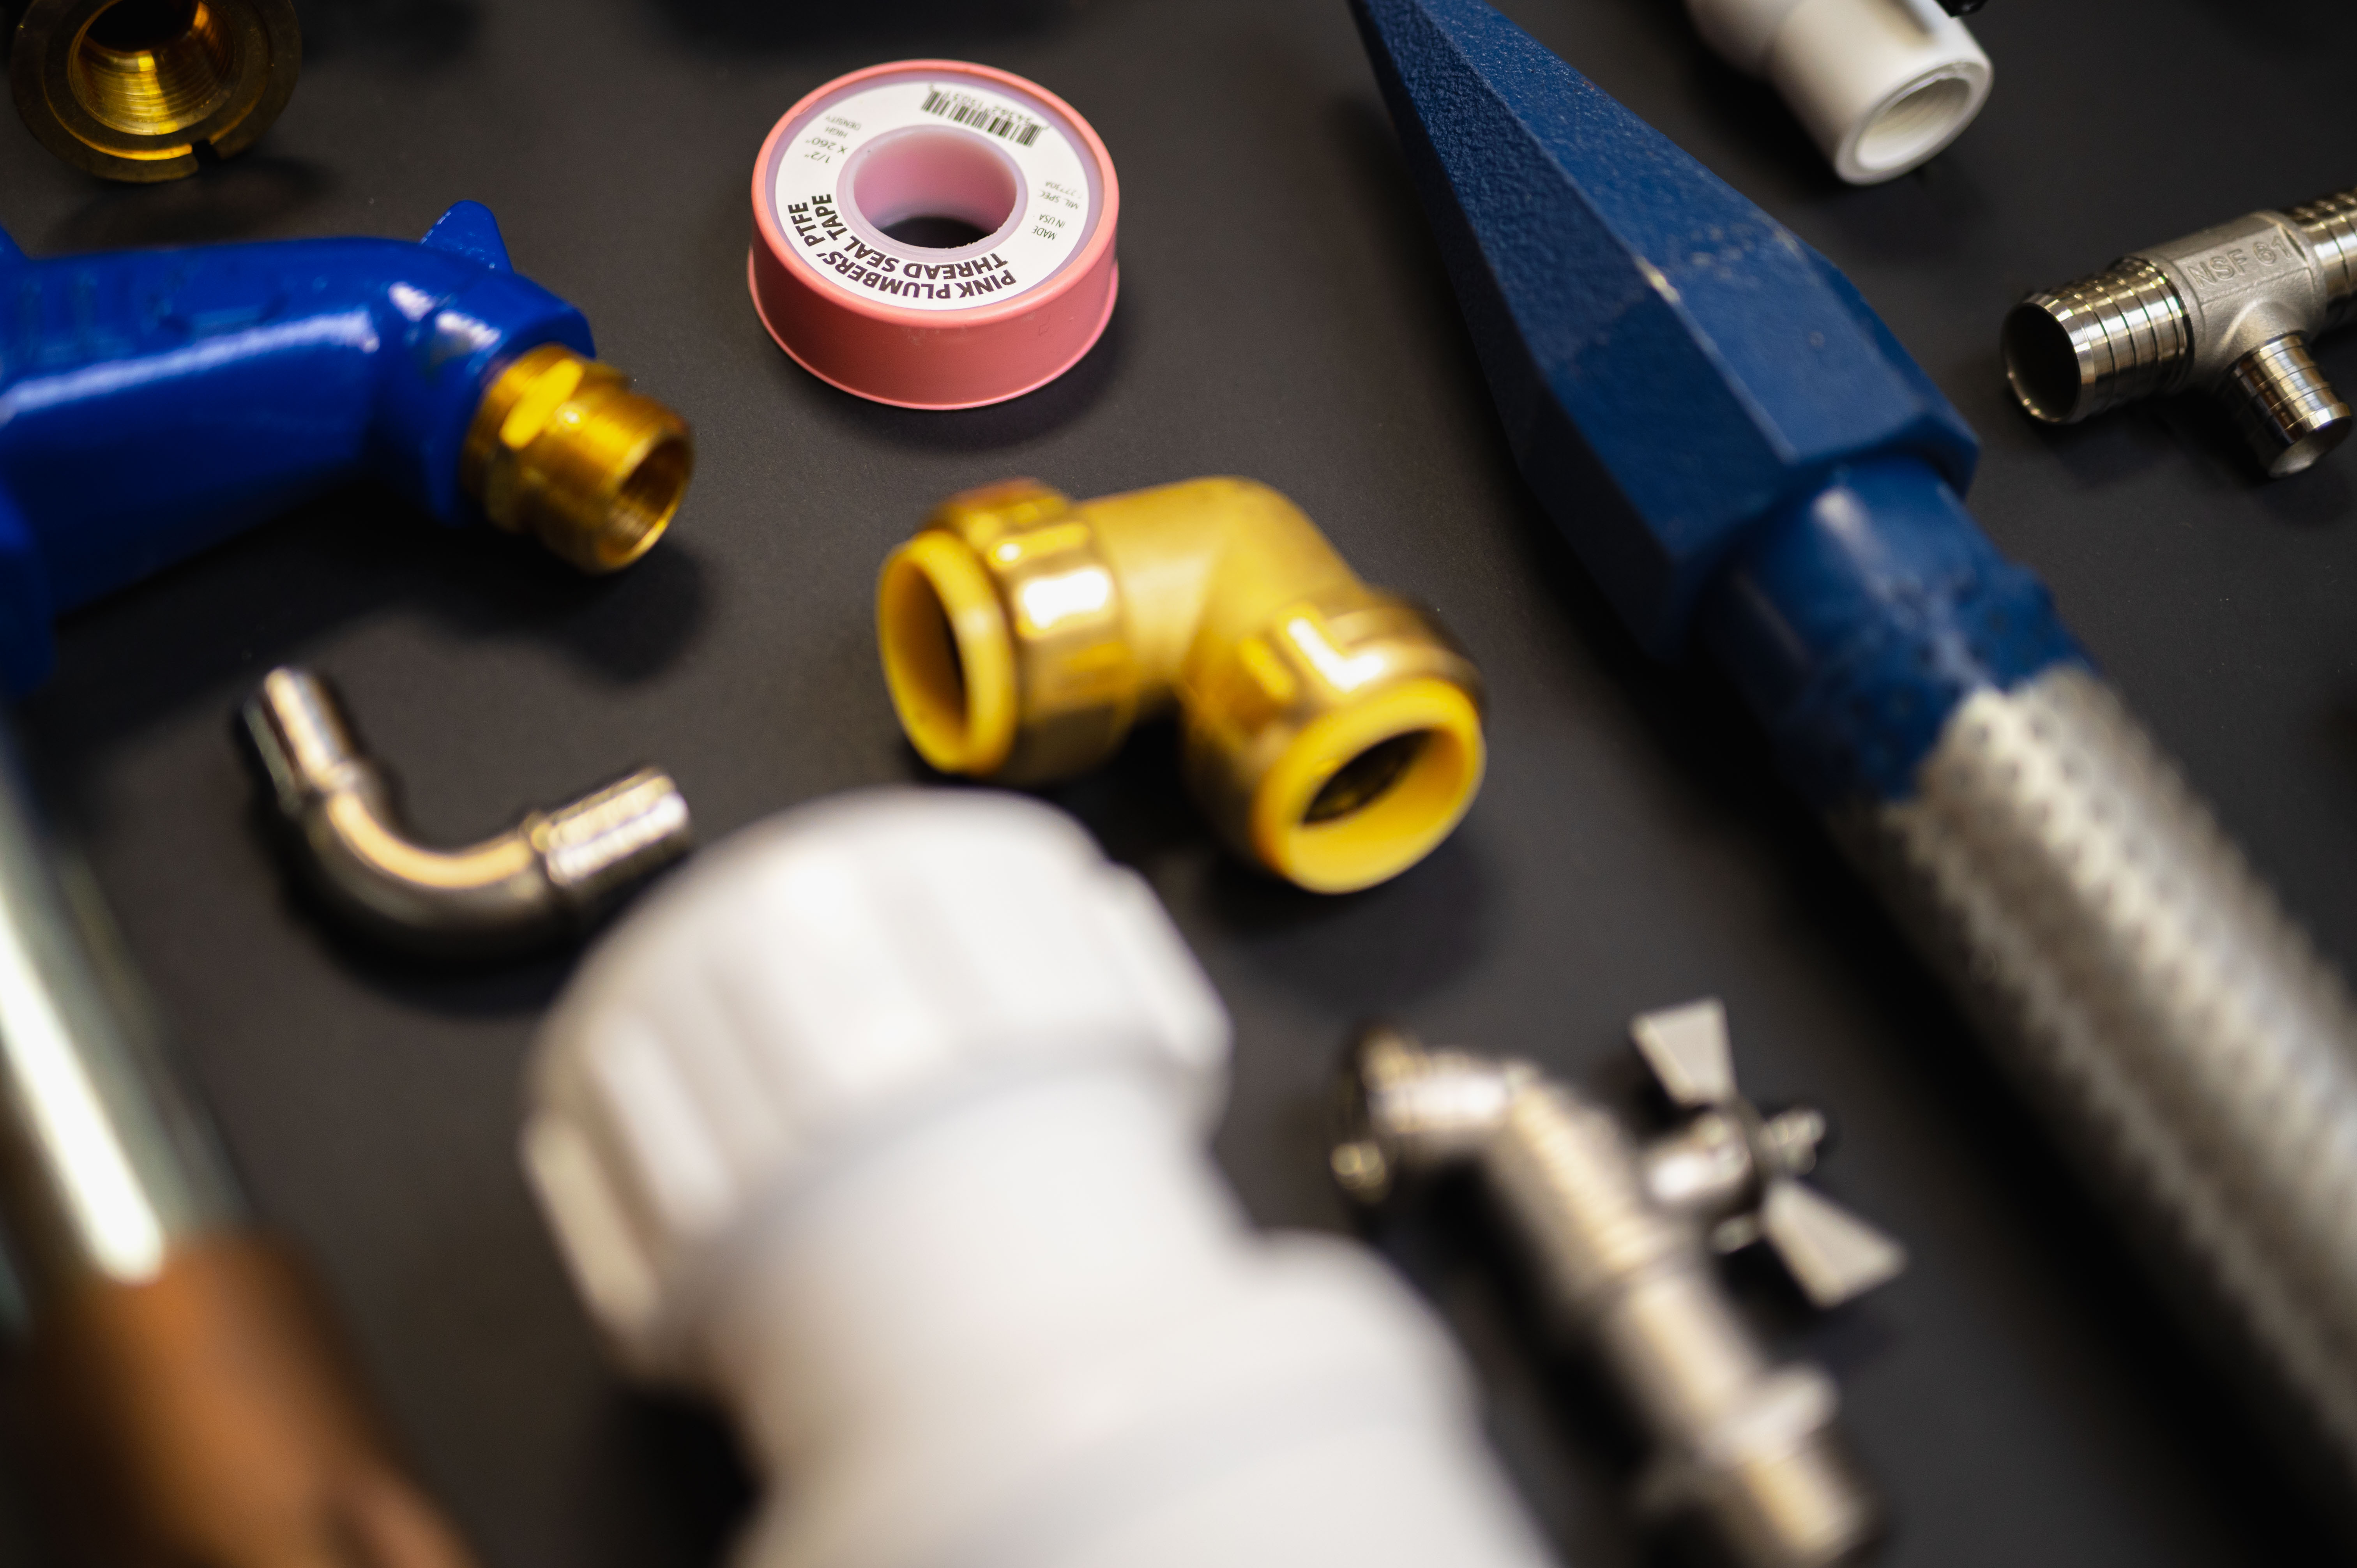
Tools & Materials Required
- 2 x appropriate MNPT (Male Nominal Pipe Thread) fittings to connect water line pipe to inlet/outlet connection on housing
- 2 x appropriate size ball / stop valves (optional)
- Necessary tools to install selected fittings and valves
- Petroleum jelly
- Pipe/Tubing cutter
- Sandpaper and pipe deburring tool
- Pipe thread sealant compatible with Polypropylene
- Adjustable wrench
- Tape measure and pencil
Installation
Application for this install are Point of Entry (POE) a place AFTER the water meter (municipal water) or the pressure tank (private water / water well) and Point of Use (POU) a place BEFORE the faucet or appliance.
Allow at least 2” above the filter head for installation of bracket, housing and shut-off valves and at least 3” below the filter bowl for filter cartridge to be changed.
- Turn off water supply and release system pressure by opening the nearest faucet (leave open).
- HOUSING REPLACEMENT: Disconnect pipe/tubing from the filter head connections.
NEW INSTALLATION: Measure and cut out enough pipe/tubing to allow for the total combined length of filter head, fittings, and valves to be installed. (It is recommended to install one (1) valve on both the inlet and outlet side of the filter housing).
- Drain remaining water in the line. Remove burrs and sharp edges from pipe ends.
- Using thread sealant, hand-tighten pipe fittings onto filter head, being careful not to cross thread. Then using wrench, one half-turn only to tighten firmly. DO NOT OVERTIGHTEN. (Taper pipe thread may cause stress cracking and damage may occur.)
- Mounting bracket: Positioning the end marked “IN” facing the incoming water supply line, install onto filter head using screws provided. Mark out location on the wall ensuring level, centered, and has proper support. Mount the bracket into position.
- Install valves (optional) onto the water line using the required fittings and tools needed.
- Connect the valves or water line to the fittings in the filter head using the required tools for type of pipe/tubing.
- Install filter cartridge and filter bowl onto the filter head. Turn bowl until hand-tight. DO NOT OVERTIGHTEN.
- Close all valves, except for nearest faucet and turn on water supply. Depress and continue to hold the red pressure relief button while slowly opening the INLET valve as water fills housing, until it flows out of relief button. Open the OUTLET valve slowly to purge air from line.
- Keep faucet open to flush system for several minutes before use. Check for leaks.
There are many benefits of installing a Point of Use / Point of Entry Whole House Water Filter Housing but knowing that you have safe clean drinking water is what I love the most.
For more information, check out our 'Choosing the Proper Water Filtration Solution'.
If you are not comfortable installing this yourself, make sure that you get a certified Plumber to do it for you. If this product is not installed correctly, it may cause water issues.
Have further questions about this subject?

Head over to Boshart's Knowledge Base: technical product information, guidelines, and more.
.png)

SHARE