Ever look at some parts and wonder "Where does this belong?" or "How do these parts work together?" In a submersible pump installation, there are a handful of different products that work together, playing an important role in the overall function of the submersible pump. Some products may have roles more centre stage, but take one part away and you and your pump could be in danger.
In this post, we take a look at a variety of products for submersible pumps, what their roles are and how they work together. Let's take a look.
Submersible Pump Components
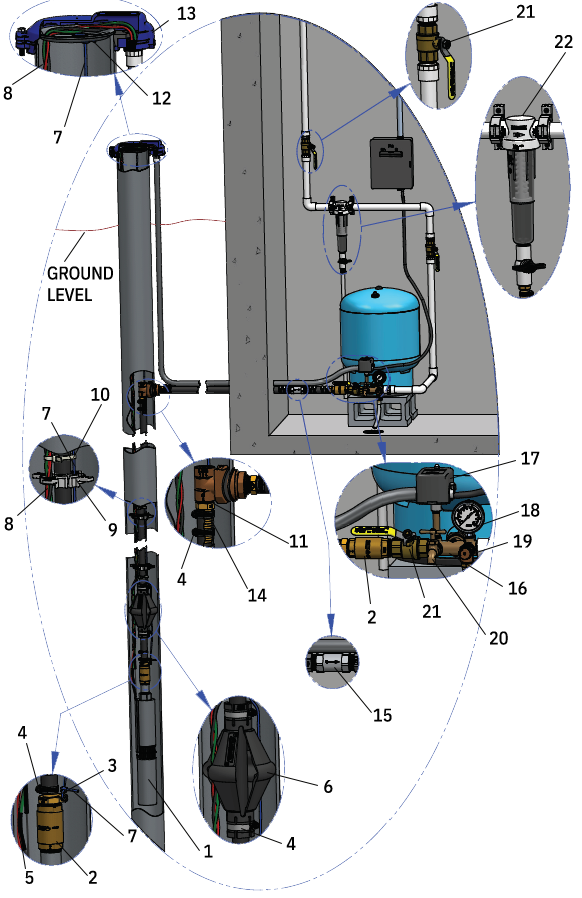
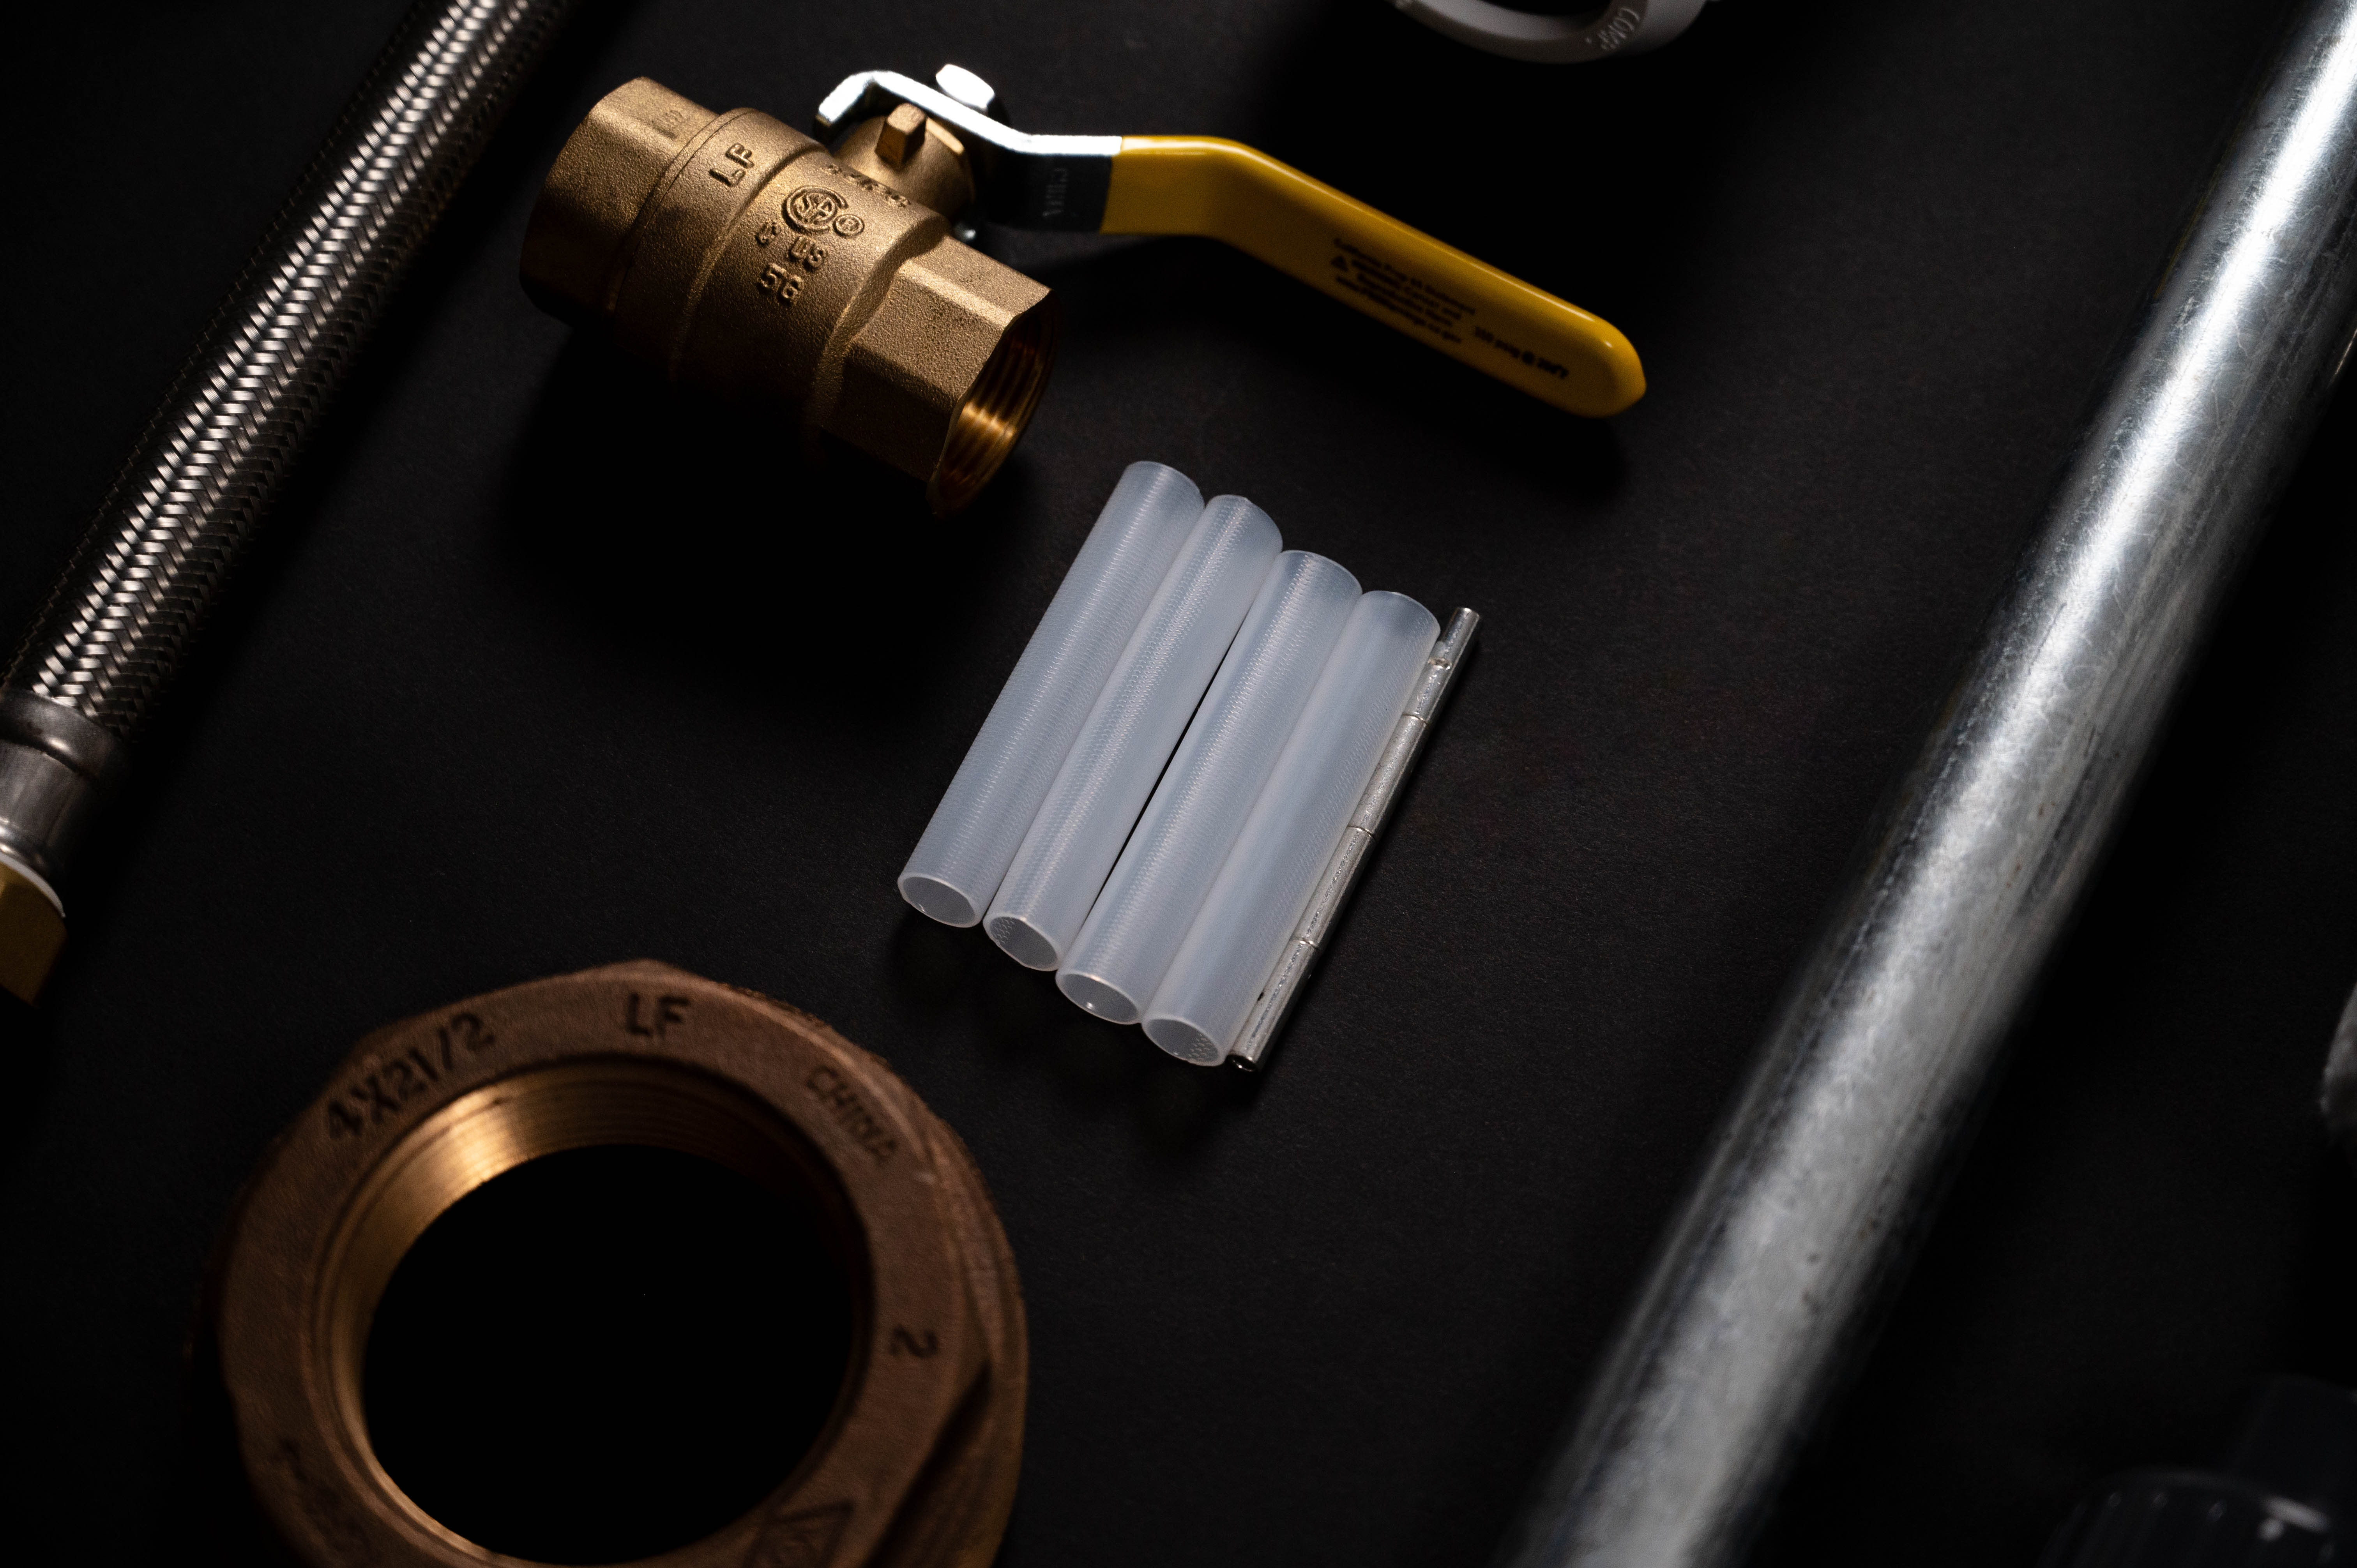
- Submersible Pump
- Check Valve
- Easy Tie Adapters
- Clamps
- Heat Shrink Splice Kits
- Torque Arrestor
- Safety Rope
- Pump cable
- Cable Guards
- Cable Ties
- Pitless Adapters
- Rope Hangers
- Well Caps
- Insert Adapters
- Flow Control Valves
- Tank Tees
- Pressure Switch
- Pressure Gauges
- Relief Valves
- Drain Valves
- Ball Valves
- Sediment Filter
1. Submersible Pump
A submersible pump allows for moving water from the ground up. They are designed to push the water up to the surface in a very efficient way.
2. Check Valve
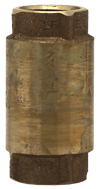 The placement and number of check valves required for a system is based on the depth of the pump setting in the well. Installation of 200 feet or less require one check valve on the pump discharge and one on the surface of the well. Settings 200 feet or deeper may require multiple check valves. Some thing to consider during installation is the weight of piping, water and submersible pump, head loss of the valves, friction loss of the piping, velocity of water and water hammer. For more on check valves and what their job is, check out taking a look at check and foot valves.
3. Easy Tie Adapters
Easy tie adapters thread into the discharge on the check valve at the submersible pump and inserts 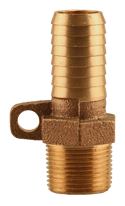 into poly riser pipe. A second adapter can be threaded into the pitless adapter at the well head and then connects to the poly riser pipe. The lug with a hole, or the rope eye, provides a simple means to securely fasten the safety rope or cable or to secure the submersible pump to the well head in case of a pipe failure. Available in bronze and stainless.
4. Clamps
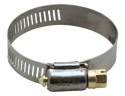 Hose clamps are designed for sealing poly pipe to barbed insert fittings, making a positive watertight seal and pull-off proof connection. Using an all 300 grade stainless steel clamp ensures the clamp will last the life of the system for water well installations or where maximum corrosion resistance is required. For a more in depth look at clamps, check out The pro's guide to gear clamps webinar.
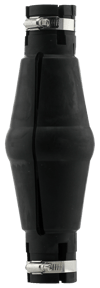
5. Heat Shrink Splice Kits
Heat shrink splice kits are designed for under water electrical connections between the pump cable 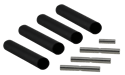 and the leads on the pump motor. The connection is made by cutting the cables in a staggered position to decrease the outer cable diameter. This is an important step in order to reduce the risk of damaging the splice due to abrasion when the pump is lowered into the well. To look at splice kits a little closer, check out our blog, What the Heck are Heat Shrink Kits?
6. Torque Arrestor
 Torque arrestors are specifically designed to keep the submersible pump centred and to prevent any twisting in the well casing. Torque arrestors also protect the pump cable and are typically installed directly above the pump on the riser pipe. They can be installed on 1" and 1- 1/4" riser pipe. For more on torque arrestors, check out our blog, Why Install a Torque Arrestor?
7. Safety Rope
Safety rope can be found connected directly to the submersible pump and secured at 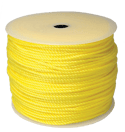 the well head. The main function is to prevent the pipes from separating which could result in the pump being lost at the bottom of the well. Safety rope can also provide a backup to enable the installer to pull the pump from the well if the riser pipe fails. Every pump should have a safety rope secured to it before hanging it in the well. To look at the different types of safety rope available, check out our blog, All About the Different Types of Safety Rope.
8. Pump Cable
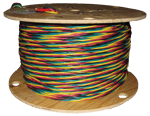 Submersible pump cable is used to supply the power to the submersible pumps. Typical pumps used in a submersible pump installation are either a two or three wire pump. The two wire pumps have the starting capacitor built into the submersible motor whereas the three wire pumps do not have the capacitor built into the motor, they require a control box which is normally found in the pump house at the well head. For more on pump cable, check out our post How to Get Pumped About Pump Cable.
9. Cable Guards
Cable guards keep the riser pipe centred in the well to prevent damage to the pump wire. If the pump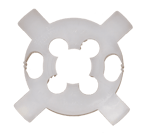 cable is not properly protected, the insulation on the wires feeding the pump can get worn out due to rubbing against the inside of the well casing. Every time the pump stops or starts, the whole installation moves in response. After years of this action, the wire insulation will thin resulting in a short circuit.
10. Cable Ties
 Cable ties are used to effectively secure the riser pipe to the pump cable between the cable guards. Some codes require the cable ties to be fastened to the riser pipe at intervals of no greater than 10 feet apart. Check out our blog, Types of Cable Ties to look at them a little closer!
11. Pitless Adapters
Slide type pitless adapters allow for an easy connection of the riser pipe from the submersible pump to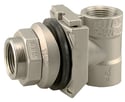 the underground discharge pipe. The discharge pipe transfers the water to your home below frost level. The threaded tapping on the pitless elbow allows the adapter to be connected to the lift out pipe to lift riser pipe and the pump assembly up out of the well. To look at slide pitless adapters a little closer, check out Slide vs Spool Pitless Adapters: What's the Difference?
12. Rope Hangers
Did you know rope hangers were invented by Mel Boshart and are only available at Boshart Industries? Rope hangers were designed to provide an easier method 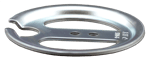 of attaching the safety rope securely to the well casing at the well head, rather than fastening the rope directly to the other internal components. The rope hanger can easily be removed and set to the side when the pump is pulled from the well if the well needs to be replaced or serviced. For more on safety rope and rope hangers, check out all the different types of safety rope.
13. Well Caps
Well caps are designed to cover the top of the well casing. They prevent debris from entering the well. 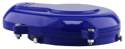 There are a variety of types of well caps but they all provide a watertight seal to protect the well from any contamination. To learn more about the different types of well caps and the different materials they come in, check out this blog post.
14. Insert Adapters
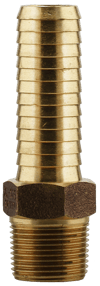 An insert adapter has one end that is insert and the other end is MPT (Male Pipe Thread). When hanging a pump on the poly riser pipe, it is recommended to use an extra long insert adapter for added protection of the pump from accidentally pulling out of the insert. You can also double or triple clamp the insert fittings to ensure the connection will never slip. For a closer look at bronze insert fittings, check out our blog, 4 Features to Look for in Bronze Insert Fittings.
15. Flow Control Valves
In any well installation, a flow control provides protection to the submersible pump in 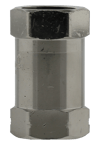 low producing wells. Flow controls allow the aquifer to sustain a static water level in the well and not allow it to fall below the submersible pump to prevent the pump from running dry due to over pumping the well. You can install a flow control anywhere between the submersible pump and the tank tee at the pressure tank connection, but they can be used in other locations as well. To dive into flow controls a little deeper, check out our blog, What the Heck is a Flow Control?
16. Tank Tees
.png?width=150&name=07ST-13SF-2U%20(top).png) Tank tees are multi-port fittings designed specifically to connect a tank to the water system. Having the multi-port feature allows one fitting to do the job as eight or more pipe fittings. The connection on the legs goes to the tank and one of the lateral connections goes to the pump. Another connection goes to the plumbing system. Water from the pump can then go either into the tank or directly into the plumbing. To take a closer look at tank tees, check out our blog, Why Not All Tank Tees are Created Equal.
Tank tees are multi-port fittings designed specifically to connect a tank to the water system. Having the multi-port feature allows one fitting to do the job as eight or more pipe fittings. The connection on the legs goes to the tank and one of the lateral connections goes to the pump. Another connection goes to the plumbing system. Water from the pump can then go either into the tank or directly into the plumbing. To take a closer look at tank tees, check out our blog, Why Not All Tank Tees are Created Equal.
17. Pressure Switch
Pressures switches control the submersible pump operations due to it's built in diaphragm that moves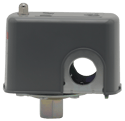 back and forth reacting to the water system pressure. Pressure switches come in standard, medium and heavy-duty models that handle a wide variety of electrical and pressure ratings. For more information on pressure switches, check out our blog, How to Properly Adjust your Pressure Switch.
18. Pressure Gauges
 A pressure gauge allows you to easily monitor what the pressure system is doing and to confirm what the cut-in and cut-out pressure settings of the switch are. They are installed in one of the two upward facing accessory ports on the tank tee head. Glycerine filled gauges can reduce any motion that could occur on the indicator pointer due to system vibrations. Check out our blog, When to Select a Liquid VS Dry Pressure Gauge for more information.
19. Relief Valves
A relief valve provides protection to the plumbing system from excessive pressure if a pressure switch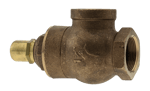 were to fail allowing the system to continue building pressure beyond the pre-set pressure of the switch. Excessive pressure could result in major failure of the plumbing pipe and the plumbing components, potentially resulting in water damage. Take a closer look at relief valves here.
20. Drain Valves
.png?width=150&name=0852-07NL%20(cert).png) A drain valve is installed in the second outward facing accessory port. Drain valves provide a means to take water samples, acquire water from systems and allows access to drain the tank and water system if the pressure tank needs to be replaced. Drain valves are also known as sediment faucets or boiler drain valves.
A drain valve is installed in the second outward facing accessory port. Drain valves provide a means to take water samples, acquire water from systems and allows access to drain the tank and water system if the pressure tank needs to be replaced. Drain valves are also known as sediment faucets or boiler drain valves.
21. Ball Valves
A ball valve should be installed on the discharge side of the pressure tank, providing a means of 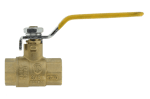 isolation of the plumbing system from the water well pressure system. Ball valves provide a way to shut off the water supply to the house in the event of a component failure in the plumbing system. For more information on ball valves, check out our blog, What the Heck is a Ball Valve?
22. Sediment Filter
 A sediment filters job is to remove the sediment from your water. This protects from sediment entering any water treatment equipment like softeners or hot water heaters. Having no sediment in the water treatment equipment increase the efficiency and longevity of the equipment. To get more details regarding spin out filters and separators, check out our post, Understanding Sediment Filters & Separators.
As you can see, each product is crucial to ensure a safe and successful submersible pump installation. When you install a submersible pump, use this list to confirm you have not forgotten any key parts, ensuring the safety of you and the pump.
Want to look at all of the components of a submersible pump installation closer? Check out, A Complete Guide of All Submersible Pump Components Ebook.
Have further questions about this subject?

Head over to Boshart's Knowledge Base: technical product information, guidelines, and more.
.png)
SHARE